
Strippers and powder
When I got home I had a package from Eastwood sitting by the door.
Stripper and powder. In a more exciting world, that would have a different connotation.
I got the old ugly blue motor parts out and put the stripper on to the hard cured powder. And I let it sit.
The stripper worked really well, and I had serious doubts since I baked the original coat of powder on thick and long (over baked, in fact, hoping the color would change…wondering what I did horribly wrong to yield such different results from the color I was expecting. This over cooking led to the separation of the powder from the base of some of the letters. Fun fact.)
I had to run to the home improvement store to get some acetone, as water wouldn’t remove the stripper/powder/slime solution that resulted from 30 minutes of sitting on the aluminum parts.
While the purple gel sat on the parts and did its thing, I cleaned up the remaining parts in preparation of coating.
The engine cases had been “cleaned” long ago…and it took forever to do this. I tried many methods.
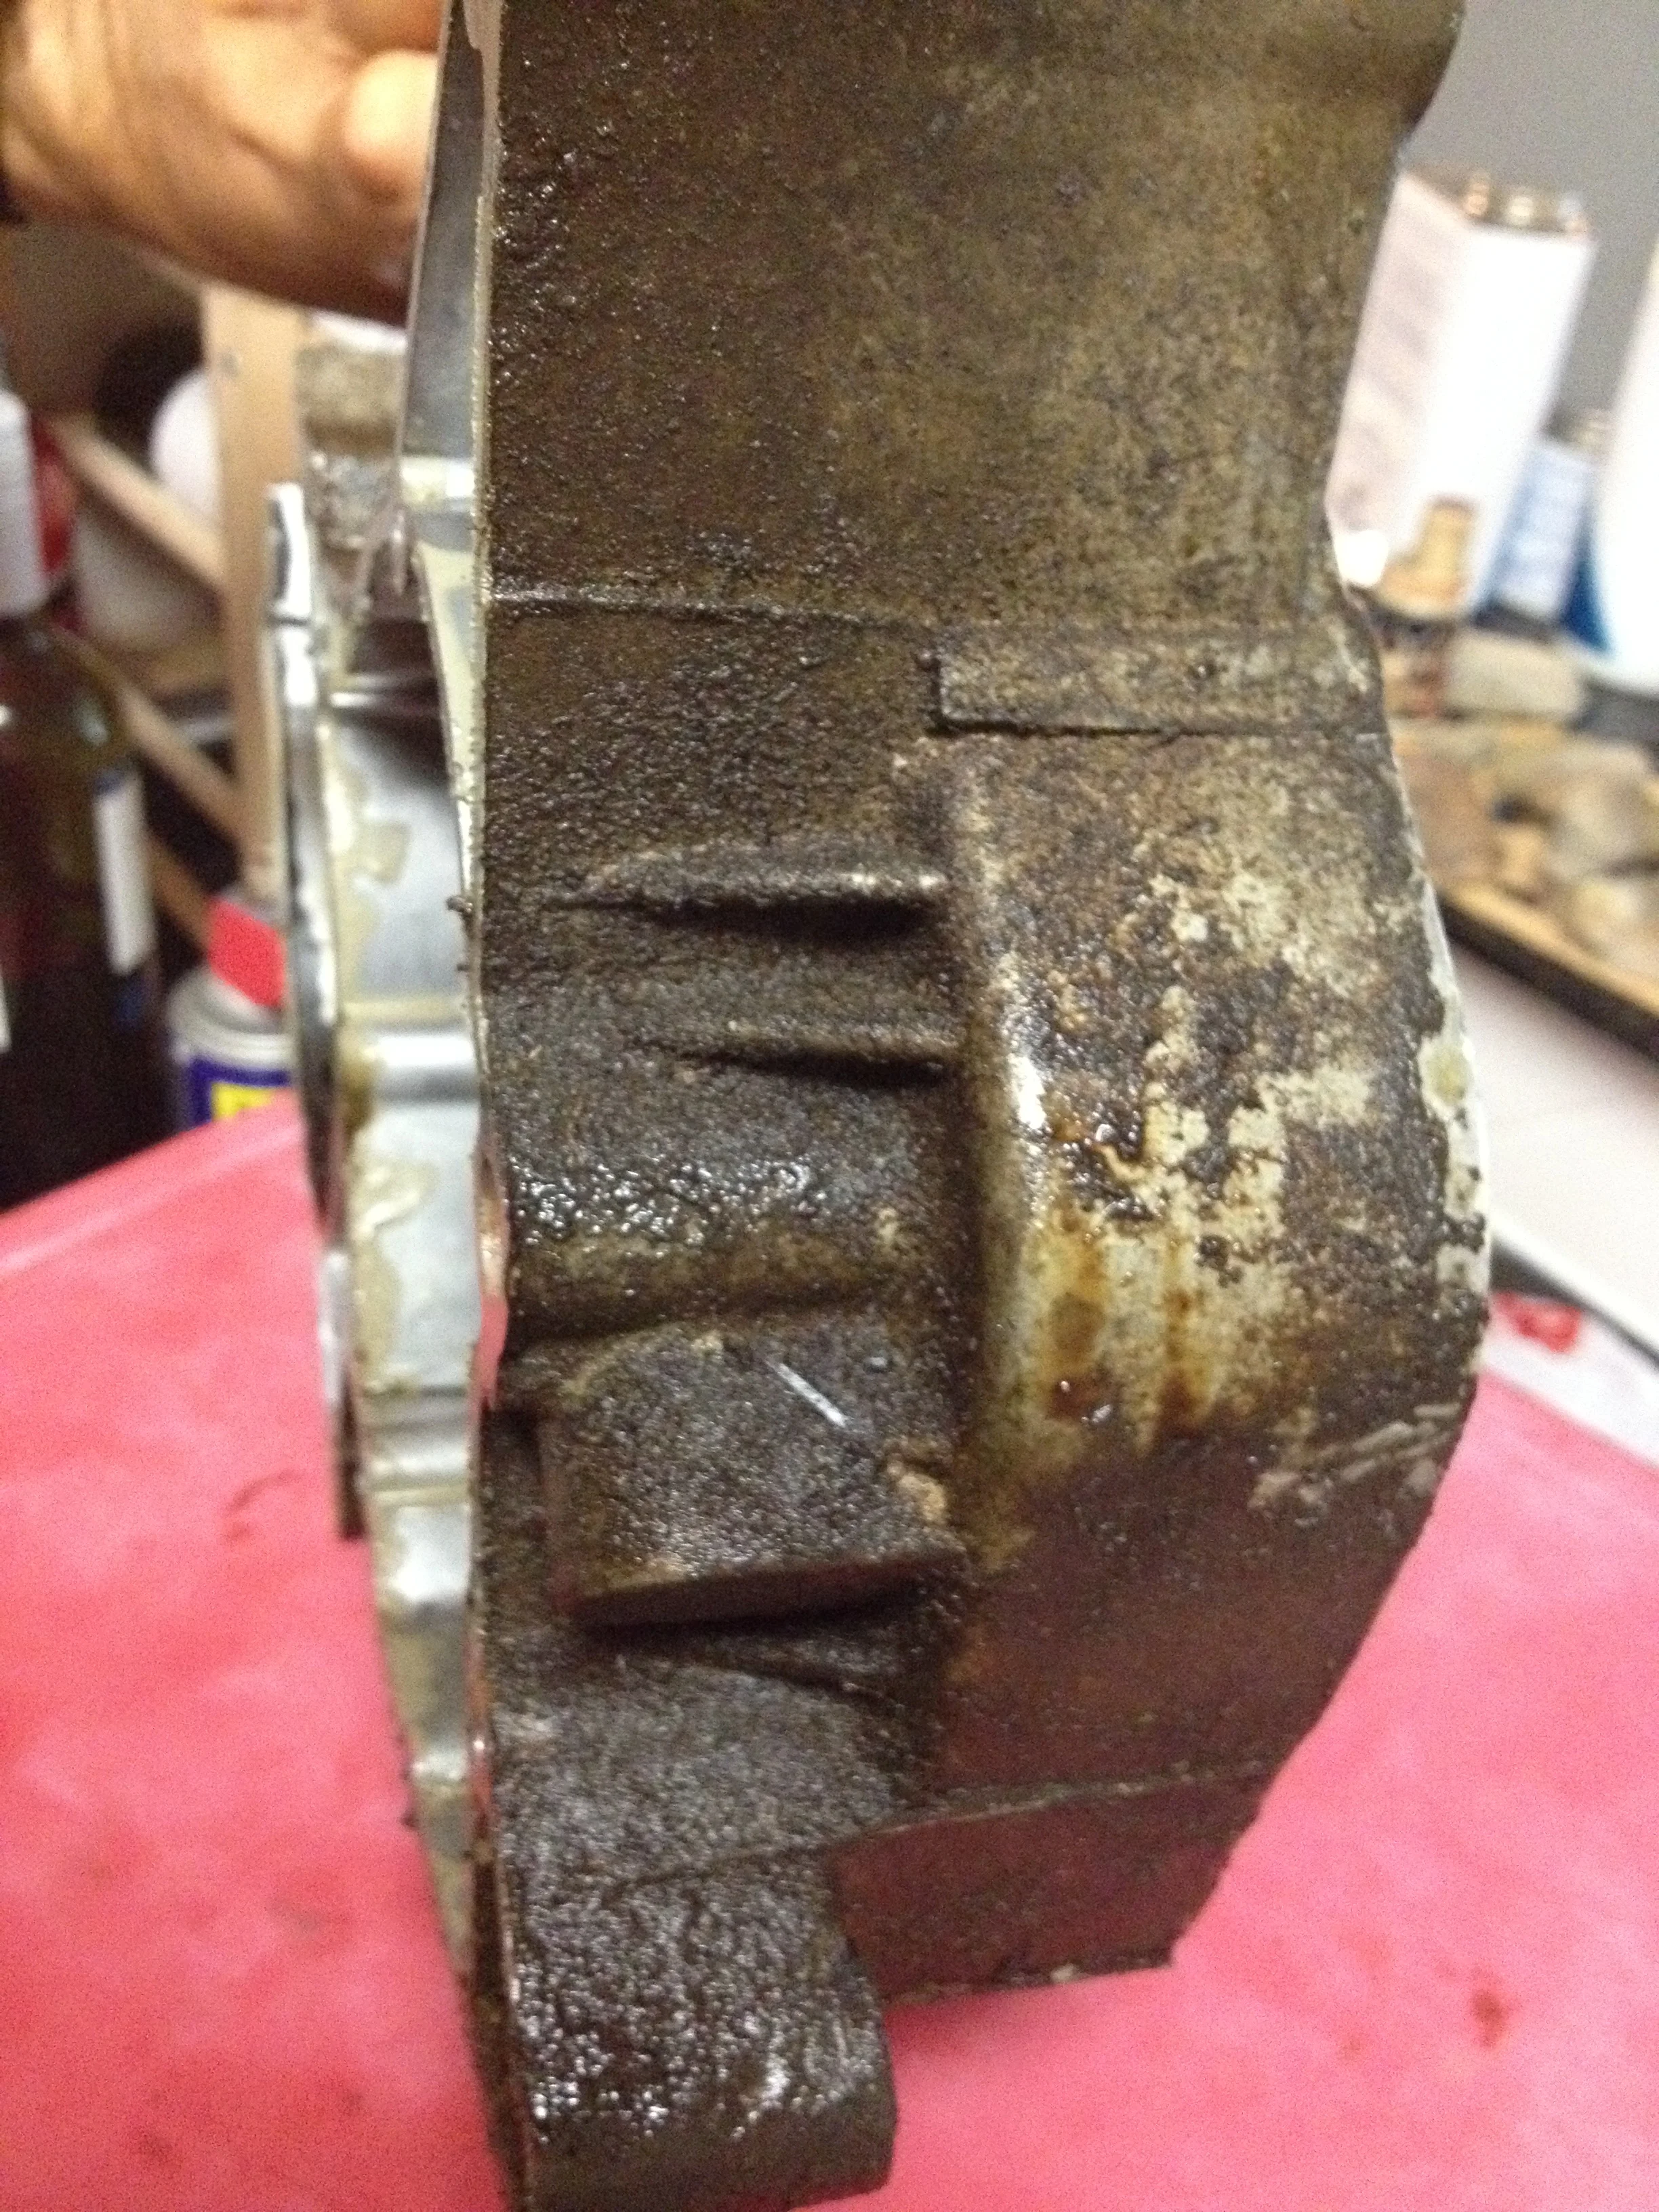
O.D.C. Old dirty case.
Of everything, cleaning with gasoline (which is what I did with the DT-2) was the easiest, fastest, and most effective. Things I tried that didn’t work as well-
Simple green
Pine sol
putting them in the dishwasher
putting them in the dishwasher again
Scrubbing manually with soap and water
Eventually what got them clean was a combination of all of the above over the course of a month or more. And “clean” is a relative term. Dirt and grime still clung to crevices. Yamaha uses a nuclear proof glue to bond the cases together in addition to the screws. Yama-bond, they call it. And it gets on things and doesn’t come off without slow, agonizing attention to detail
Engine cases themselves were scraped clean with a razor blade where needed, then scrubbed with a scotchbrite pad, then washed with simplegreen and #2 steel wool. Side cases were stripped with Dekote, rinsed in acetone, scrubbed with simplegreen and #2 steel wool.
I, like many other men (probably) am guilty of getting excited, getting in a hurry, and rushing things. This admittedly was the case with the first round of powder coating. I got the color in the mail, was super excited, and wanted to see what it’d look like. If I had the RIGHT color, it would have looked fine. But seeing has how I didn’t…
I’ve been afforded the chance to go through and better prep things. So the cases and covers have been stripped, smoothed, scrubbed, cleaned, and dried. They’re ready for powder.
But I think I’ll do a test to see how the color looks before going crazy. That’s the plan for tomorrow, maybe.
The nice thing about powder coating is that it affords a really easy, all in one step to put in new bearings.
The cases are machined to accept bearings with tight tolerances, obviously. Back in the Japanese factory these bearings would have been pressed in to place with a fancy hydraulic machine with tons of force.
Most popular way to do it today, and the way I’ve done it without fail countless times- Put the bearings in the freezer for a day or more. Heat the cases in the oven (have to do this to cure the powder anyway)
Cold bearings drop right in to hot cases. Thermodynamics in action.
Bearings are in the mail, so maybe I’ll wait until they are here and knock it all out efficiently. Either way, I’ll break out the powder gun tomorrow and do a test of the 2 stage color.
First stage is laying down a powder “chrome” which is just a glossy, highly reflective silver. Once that is sprayed, baked, and cured a translucent pearl blue will go over. The base reflectivity and the slightly transparent blue color should make a nice complicated deep looking (but not deep-blue colored) result.
If it ends up being dark blue..I’m throwing the whole thing out the window. The powder is from Eastwood this time (same place as my powder coating gun, same place as the stripper) and I have full faith in them.
Results later…